Adding temporary GL adjustments
You can post temporary adjustments to GL data by adding transactions that were not posted in time for the generation of the data file, to correct entries made to the wrong account, or to reclassify transactions from suspense accounts.
Keep in mind the following when adding adjustments:
- You must select a valid account and department value for each line of your entry.
- You cannot enter both a debit and credit on the same line.
- Your entries must balance.
- The system calculates the average balance for all balance sheet accounts based on the day of the entry and the number of days in the month.
- The system calculates a balance adjustment to current period earnings based on the adjustments to income and expense accounts in your journal entry. It will then post both the end of month and average balance adjustment for this impact.
To add temporary GL adjustments:
-
On the Manage Data tab, click the GL Adjustments sub-tab.
-
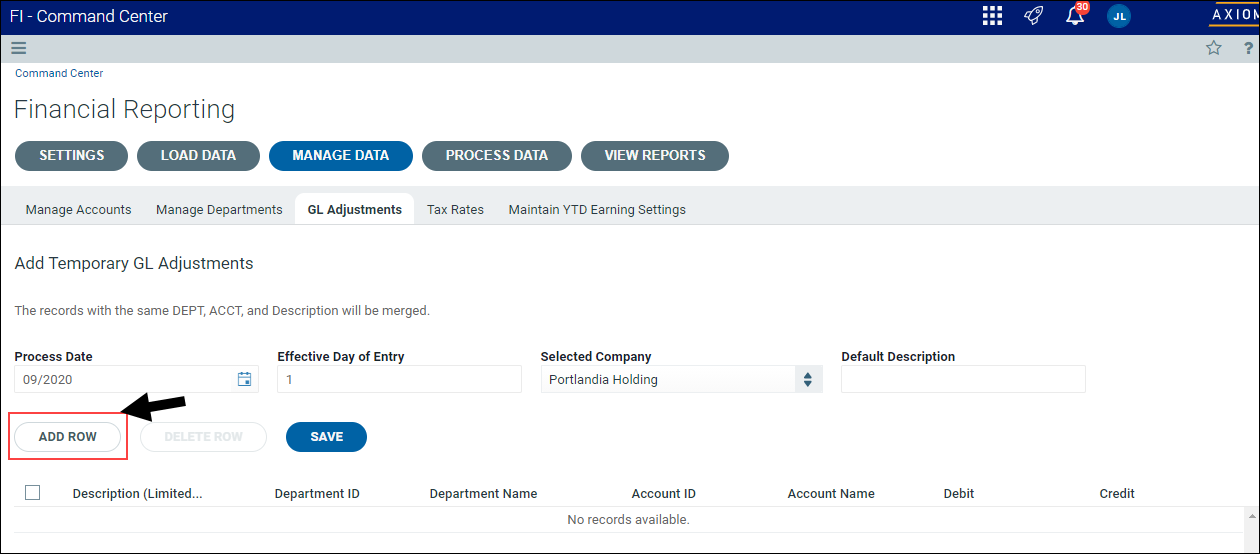
Under Add Temporary GL Adjustments, click Add Row.

Click image to view full size
-
Click the area under the Description column, and type a description for the adjustment.
-
To the left of the Department ID column, click the ellipsis (...).
-
In the List Selection dialog, choose a department from the list by selecting the checkbox next to the department, and then click OK. Use the search field above the list to search by department ID or description. After you select a department, the department ID and name will display in the row.
-
To the left of the Account ID, click the ellipsis (...).
-
In the List Selection dialog, choose an account from the list by selecting the appropriate checkbox next to the account, and then click OK. Use the search field to search by account number or description. After you select a department, the department ID and name will display in the row.
-
Do one of the following, depending on the adjustment type to process:
-
In the Debit column, type the adjustment amount to debit.
-
In the Credit column, type the adjustment amount to credit.
NOTE: You cannot enter both a debit and credit on the same line.
-
-
Complete steps 2-9 for each adjustment to add.
-
When you are ready to process the adjustments, do the following:
- In the Process Date field, type a date or click the calendar icon to select a date to process the adjustments.
- In the Effective Day of Entry field, use the arrows to specify a day of the month, or type the date.
- In the Selected Company field, select a company from the drop-down list.
- In the Default Description field, enter a description for the adjustments you are processing.
-
When you are ready to submit the adjustments for processing, click Save.